Appearance
ubuntu
ubuntu 在个人工作站与服务器领域都表现的非常稳定优秀,工程师使用 ubuntu 做为个人开发电脑完全没有问题,功能齐全性能稳定,因为用户众多解决问题也比较容易。

安装系统
下面介绍安装 ubuntu 系统,你可以安装成双系统或整台电脑只是 ubuntu 系统
- 从官网 https://ubuntu.com/download 下载软件,选择 LTS 版本可以获得更久的支持
- 将下载的 ISO 文件使用 rufus 软件制作到 U 盘中
- 启动电脑并选择 U 盘启动即可安装
- 安装时可以选择与 windows 系统共存,ubuntu 会帮助分区
国内镜像
修改国内镜像源可以加快软件下载速度,我们介绍两种方式。
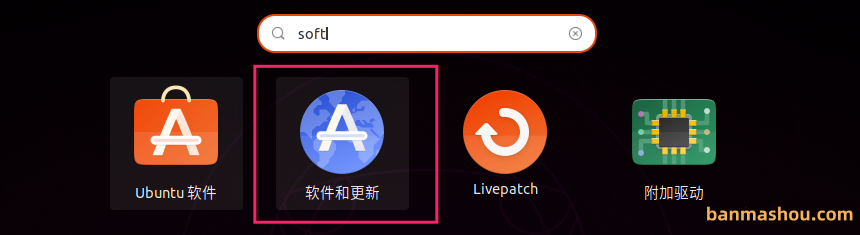
软件设置
下面使用系统自带的软件进行设置,这适合于ubuntu桌面课,选择软件与更新程序
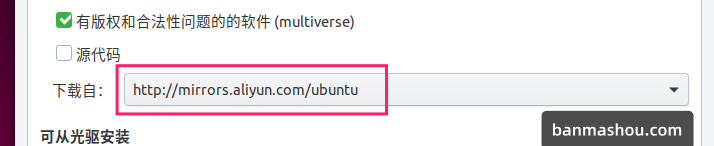
修改为阿里云服务器
手动更改
下面通过修改文件来设置国内阿里云镜像
首先配置源文件
sudo cp /etc/apt/sources.list /etc/apt/sources.list.bak然后修改sources.list文件内容
sudo vim /etc/apt/sources.list删除sources.list文件所有内容,然后添加以下内容
Ubuntu 安装源
deb https://mirrors.aliyun.com/ubuntu/ trusty main restricted universe multiverse
deb-src https://mirrors.aliyun.com/ubuntu/ trusty main restricted universe multiverse
deb https://mirrors.aliyun.com/ubuntu/ trusty-security main restricted universe multiverse
deb-src https://mirrors.aliyun.com/ubuntu/ trusty-security main restricted universe multiverse

deb https://mirrors.aliyun.com/ubuntu/ trusty-updates main restricted universe multiverse
deb-src https://mirrors.aliyun.com/ubuntu/ trusty-updates main restricted universe multiverse

deb https://mirrors.aliyun.com/ubuntu/ trusty-backports main restricted universe multiverse
deb-src https://mirrors.aliyun.com/ubuntu/ trusty-backports main restricted universe multiverse

## Not recommended
# deb https://mirrors.aliyun.com/ubuntu/ trusty-proposed main restricted universe multiverse
# deb-src https://mirrors.aliyun.com/ubuntu/ trusty-proposed main restricted universe multiverse
Arm 源配置
deb https://mirrors.aliyun.com/ubuntu-ports/ xenial main restricted universe multiverse
# deb-src https://mirrors.aliyun.com/ubuntu-ports/ xenial main main restricted universe multiverse
deb https://mirrors.aliyun.com/ubuntu-ports/ xenial-updates main restricted universe multiverse
# deb-src https://mirrors.aliyun.com/ubuntu-ports/ xenial-updates main restricted universe multiverse
deb https://mirrors.aliyun.com/ubuntu-ports/ xenial-backports main restricted universe multiverse
# deb-src https://mirrors.aliyun.com/ubuntu-ports/ xenial-backports main restricted universe multiverse
deb https://mirrors.aliyun.com/ubuntu-ports/ xenial-security main restricted universe multiverse
# deb-src https://mirrors.aliyun.com/ubuntu-ports/ xenial-security main restricted universe multiverse
然后执行命令更新
sudo rm -rf /var/lib/apt/lists/*
sudo apt-get update
sudo apt-get upgrade
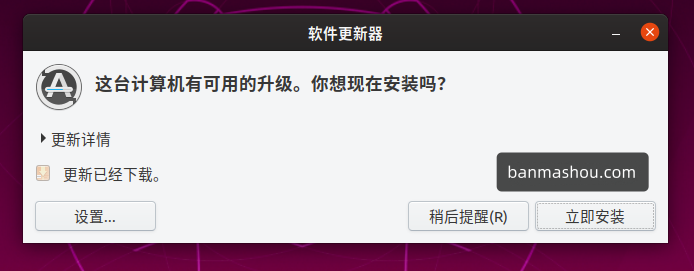
系统更新
我们也可以使用软件进行更新
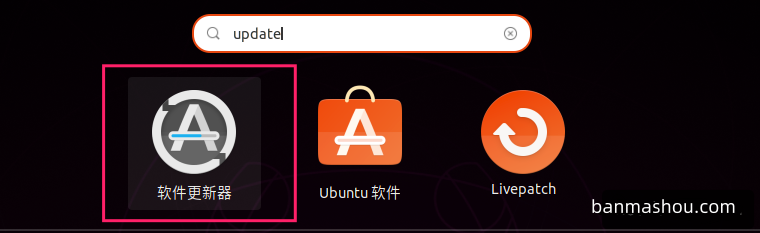
执行系统更新
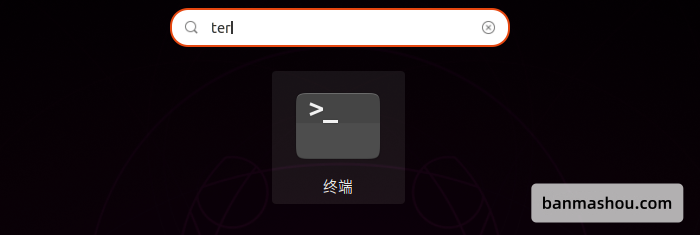
终端使用
调出命令行终端
安装基本工具
sudo apt install git
sudo apt install php
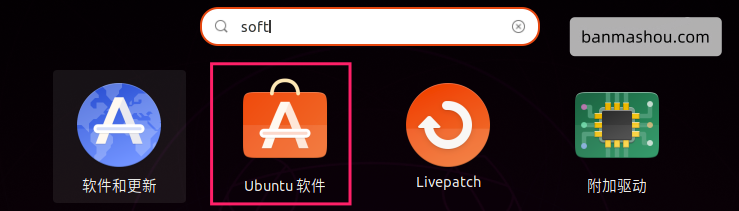
sudo apt install vim软件商店
系统提供的应用商店包含众多好用的软件
应用商店不存在的软件可以去官网查看安装如
wps
基本使用
大部分软件都可以在 ubuntu 的软件商店中找到,下面介绍一些常用软件。
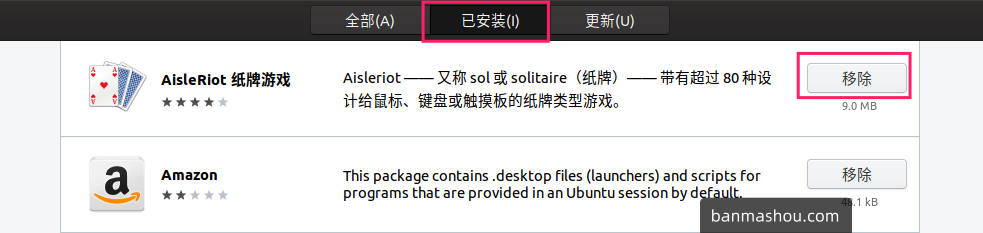
可以通过搜索安装软件

卸载掉不需要的软件节省空间
常用软件
gTitle 分屏软件
Dash to Panel 一款定制 Dash 栏的风格软件
Inkscape 一个开源的矢量图形编辑器,功能类似于 Illustrator
Flameshot 桌面截图软件
Blender 3D 建模、动画、渲染和后期制作
界面设置
tweak
tweak 是对系统界面进行定制化操作,在系统应用商店中搜索安装 tweak

下面是软件启动界面

基本设置
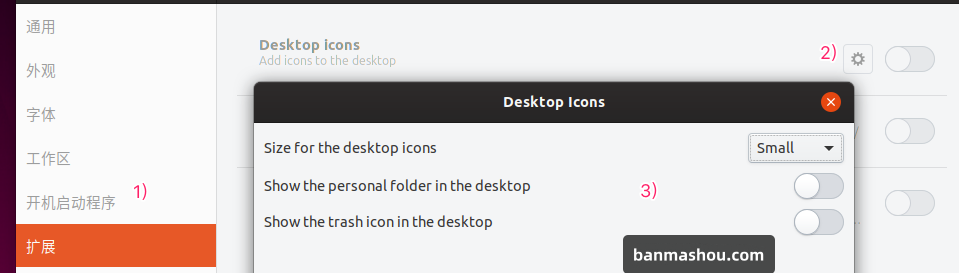
隐藏桌面图标
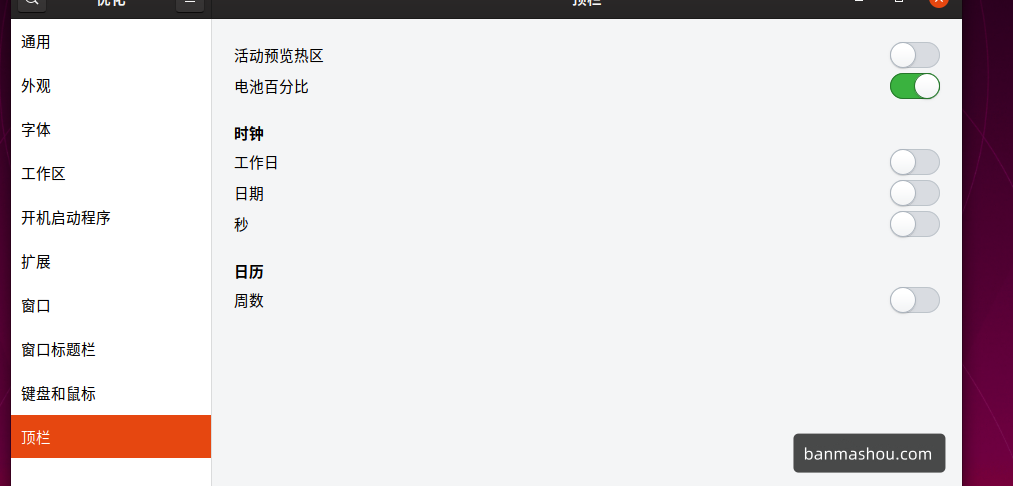
顶部菜单定制
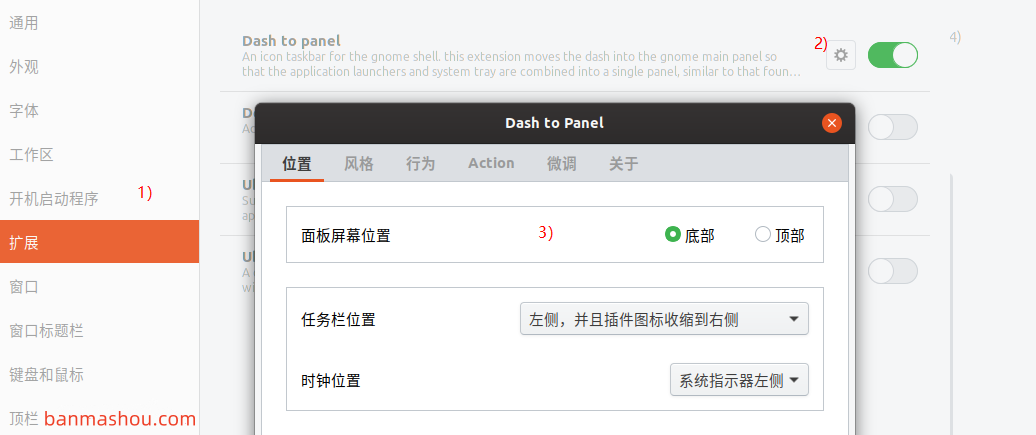
Dock
应用商店搜索Dash to Panel并安装

打开优化配置 dock
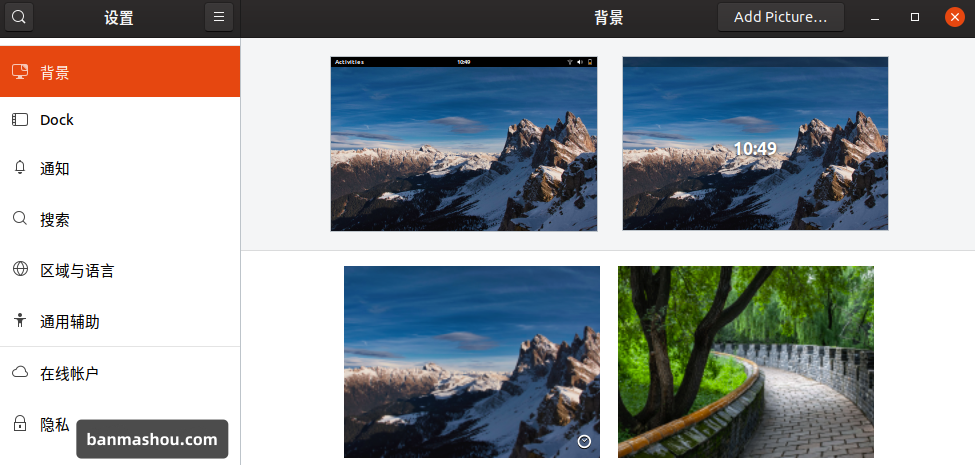
更换背景
在设置中选择背景,或在桌点右键菜单中选择
定制风格
ocs-url
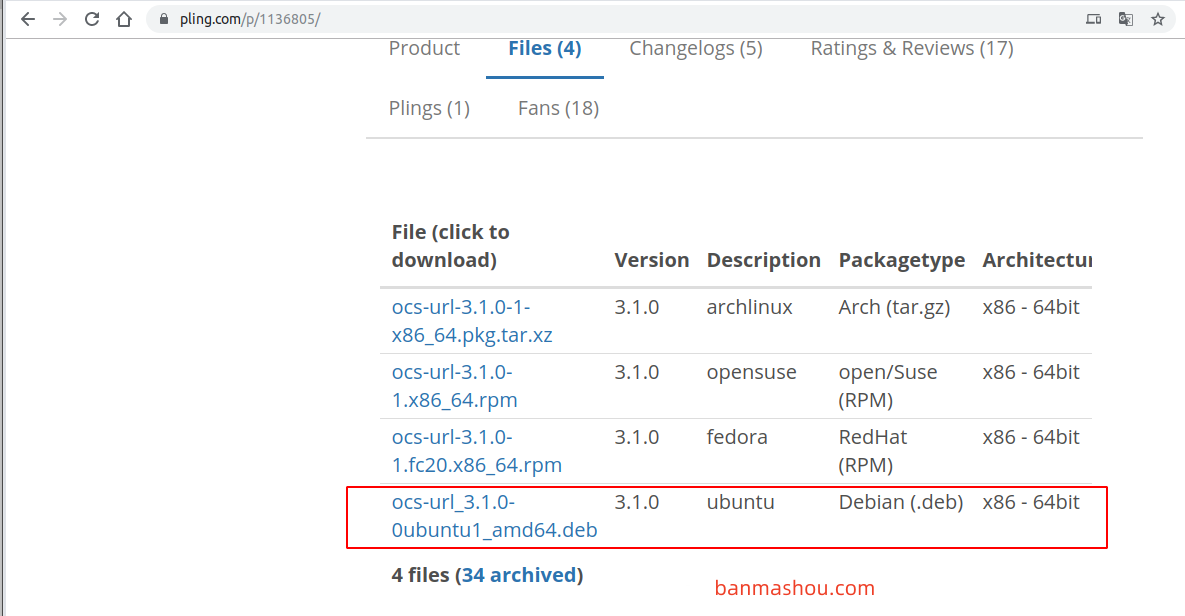
使用 ocs-url 可以快速安装风格
- 访问 https://www.pling.com/p/1136805/ ,在 Files 标签中选择 ubuntu 版本
- 直接打开系统将开启软件管理进行安装
下载风格
访问 https://vinceliuice.github.io/ 获取多种界面风格,下面以安装 Yosemite Gtk Theme 风格为例说明。
访问网站 https://vinceliuice.github.io/theme-yosemite.html 点击
Get Yosemite按钮在
Files标签中选择风格进行安装即可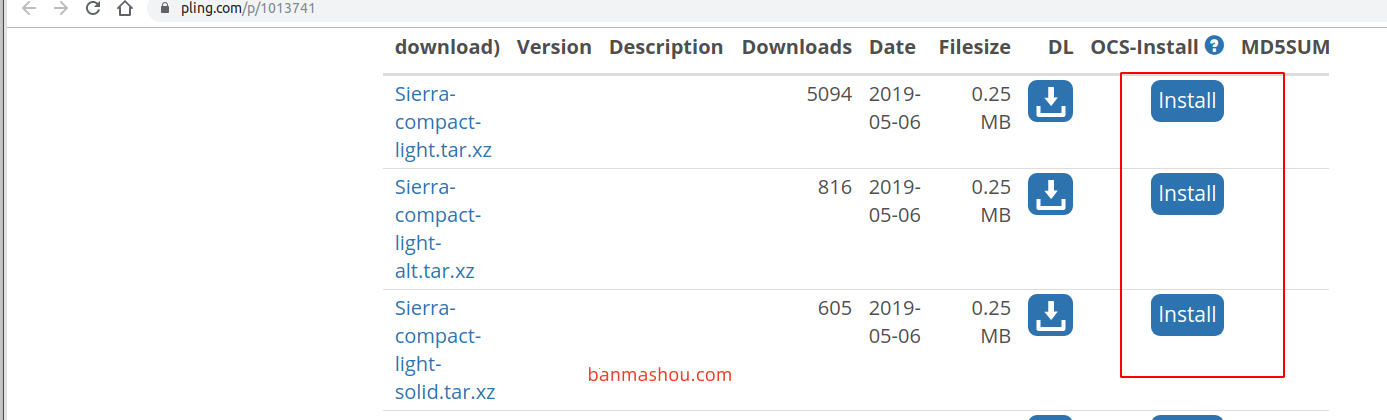
在
tweak软件中选择要使用的风格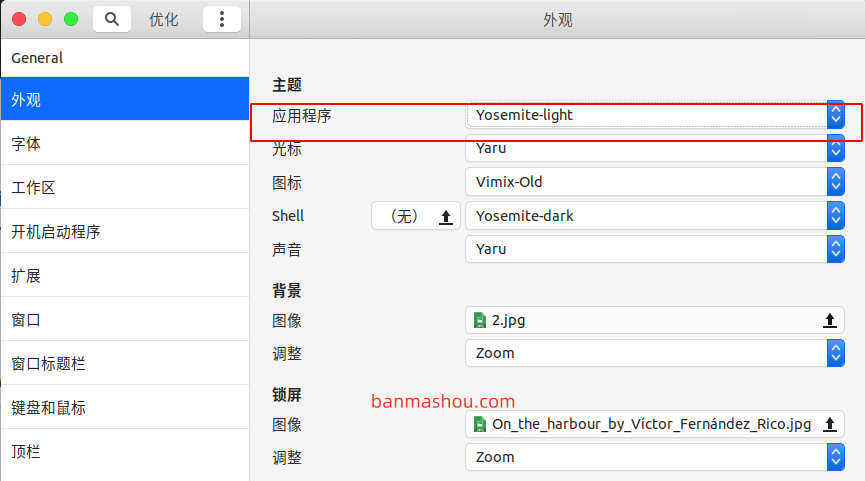
系统图标
项目地址
图标项目地址 https://github.com/vinceliuice/vimix-icon-theme
安装步骤
- clone 项目到本地
- 解包后执行
./install.sh文件 - 在
tweak优化软件中选择图标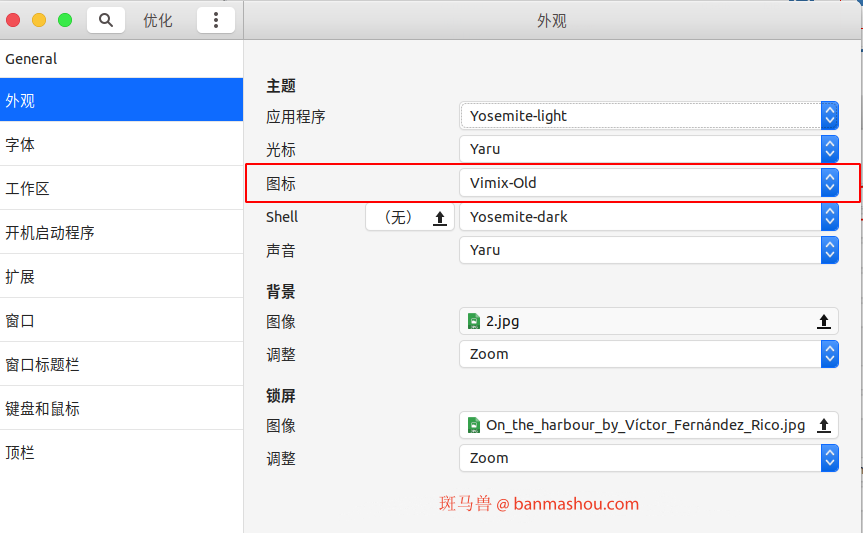
开发软件
VSCODE
- 在 ubuntu 软件商店中安装的 vscode 不能输入中文,所以需要从官网下载安装
下载deb的软件
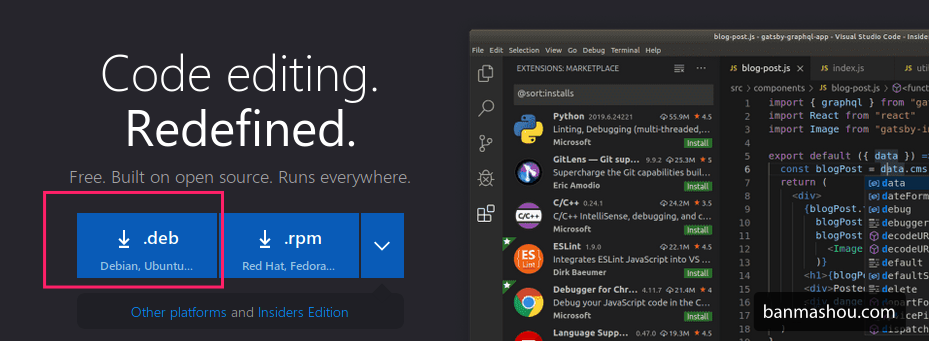
详细 vscode 的使用请在 斑马兽文档查看
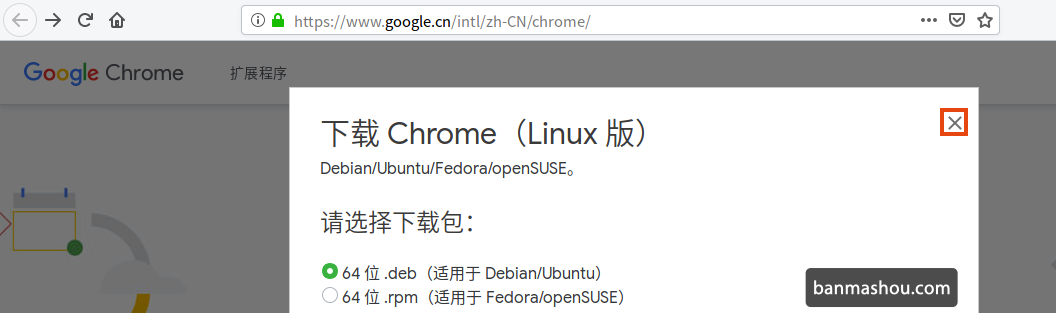
chrome
和安装 vscode 一样,也是下载deb的软件包
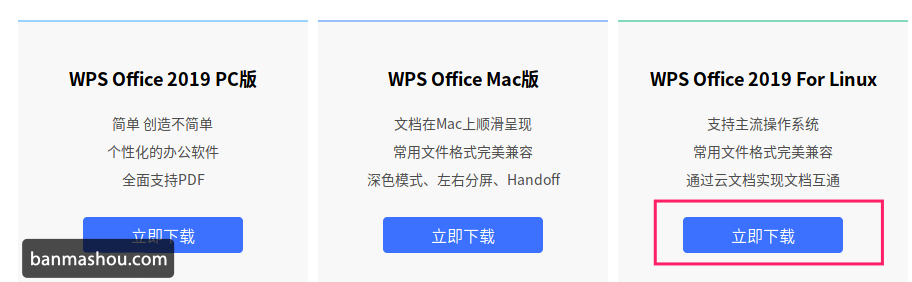
wps
wps 是跨平台的办公软件,访问官网 下载安装deb即可。
五笔输入法
斑马兽使用的是五笔拼音使用以下命令安装,如果你使用拼音系统已经默认已经就有了。
下面介绍两种五笔输入法,推荐使用rime 五笔输入法。
rime
软件官网 http://rime.im/
sudo apt-get install ibus-rime

sudo apt-get install librime-data-wubi librime-data-pinyin-simp librime-data-stroke-simp
配置
- 编辑文件
~/.config/ibus/rime/build/default.yaml - 在
schema_list添加- schema: wubi_pinyin - 重新部署或重启电脑
fcitx
安装
sudo apt install fcitx-table-wbpy
sudo apt update
安装后需要重新启动系统后生效
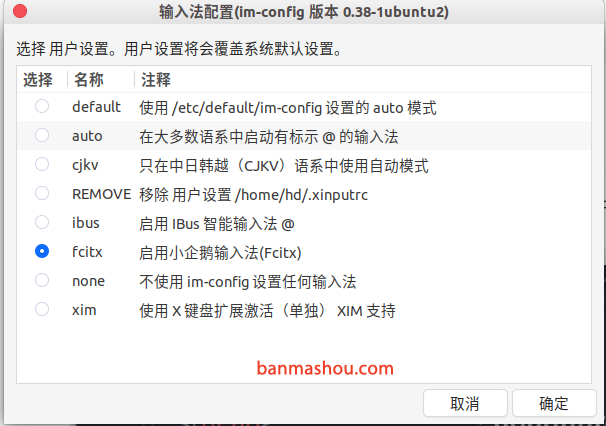
配置

在弹出的菜单一直选择是,然后选择 fcitx 输入法
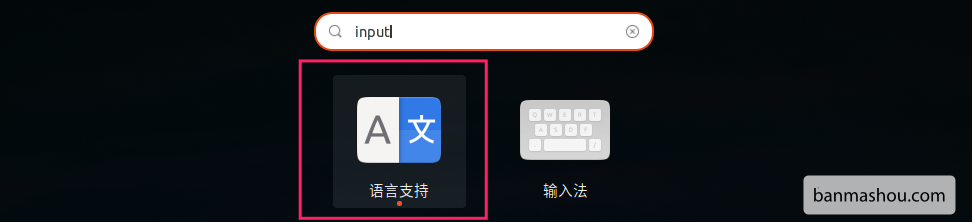
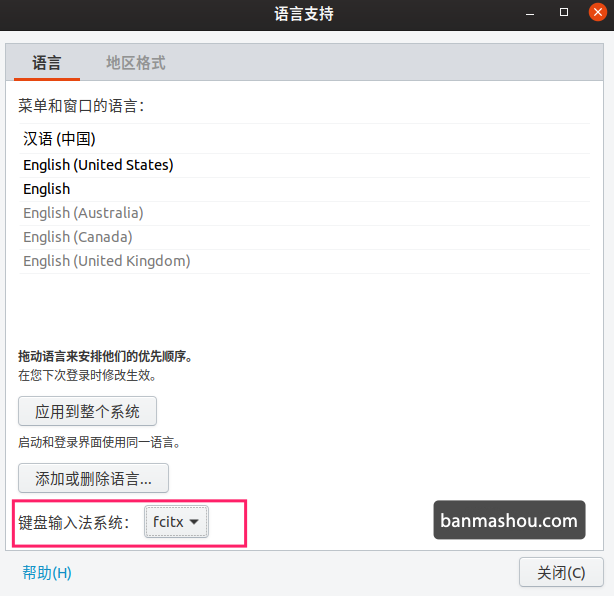
选择语言支持
键盘输入法为 fcitx
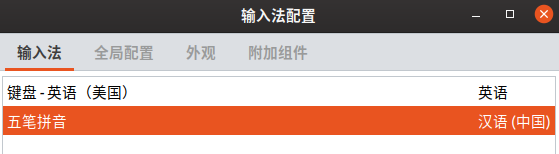
移除不需要的输入法
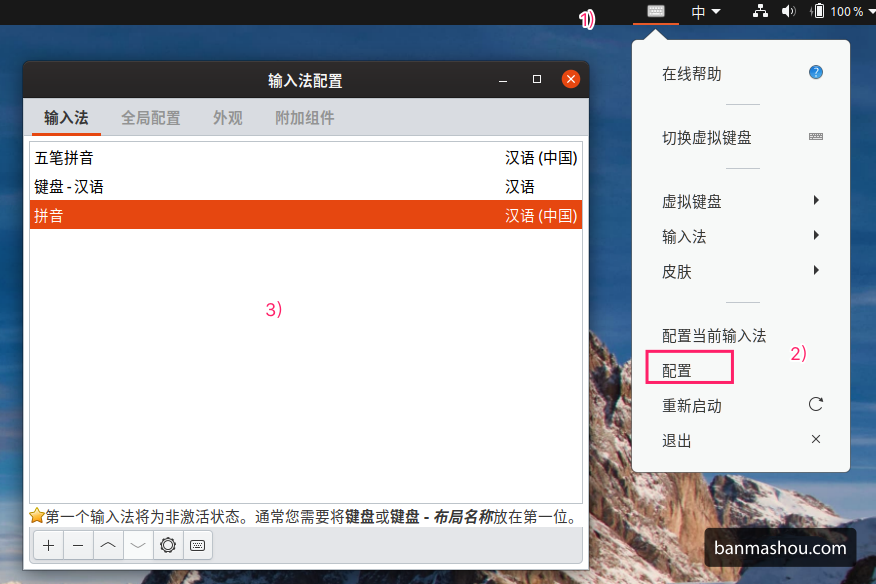
最终调整后的输入法如下